
Overview
Wi-Fi lets a supported Synaccess PDU connect to a wireless network through a
compatible USB Wi-Fi dongle. You can configure Wi-Fi from the web interface or
from the PDU command-line interface (CLI).
Wi-Fi is supported beginning with these firmware versions:
- SynLink: firmware
2.5.116 - Synaccess DX: firmware
8.6.42.- DX Hardware version with USB host port : SP000115 or SP000113
Wi-Fi uses DHCP. The wireless network must provide an IP address, subnet mask,
gateway, and DNS settings automatically.
The current release supports 2.4 GHz WPA2-Personal only. Support for other
authentication methods, including WPA2-Enterprise and WPA3, is currently being
scoped and is not available in this release.
Before You Begin
You need:
- A SynLink running firmware 2.5.116 or later, or a SynLink DX running firmware
8.6.42 or later. - A supported USB Wi-Fi dongle connected to the PDU.
- A 2.4 GHz WPA2-Personal wireless network.
- The network name (SSID) and password. The password must contain 8 to 63
characters. - An account with permission to modify network settings.
- Ethernet or local console access while configuring Wi-Fi for the first time.
Keep Ethernet connected until the Wi-Fi Status section shows the expected
SSID and a valid IP address. The Wi-Fi address may be different from the
PDU's Ethernet address.
Fully Supported USB Wi-Fi Dongles
Synaccess fully supports the following USB Wi-Fi dongles:
| Manufacturer / model | USB ID | Driver description |
|---|---|---|
| TP-Link TL-WN722N (supported RTL8188EUS hardware revision) | 2357:010c | RTL8188EUS |
| TP-Link TL-WN725N (RTL8188EU variant) | 0bda:8179 | RTL8188EUS |
A different hardware revision of the same retail model may use a different
chipset and may not work. Confirm the USB ID with Synaccess Support before
purchasing adapters for a deployment.
Configure Wi-Fi in the Web Interface
1. Open the Wi-Fi page
- Connect the supported USB Wi-Fi dongle to the PDU.
- In a browser, enter the PDU's current Ethernet IP address.
- Log in to the PDU.
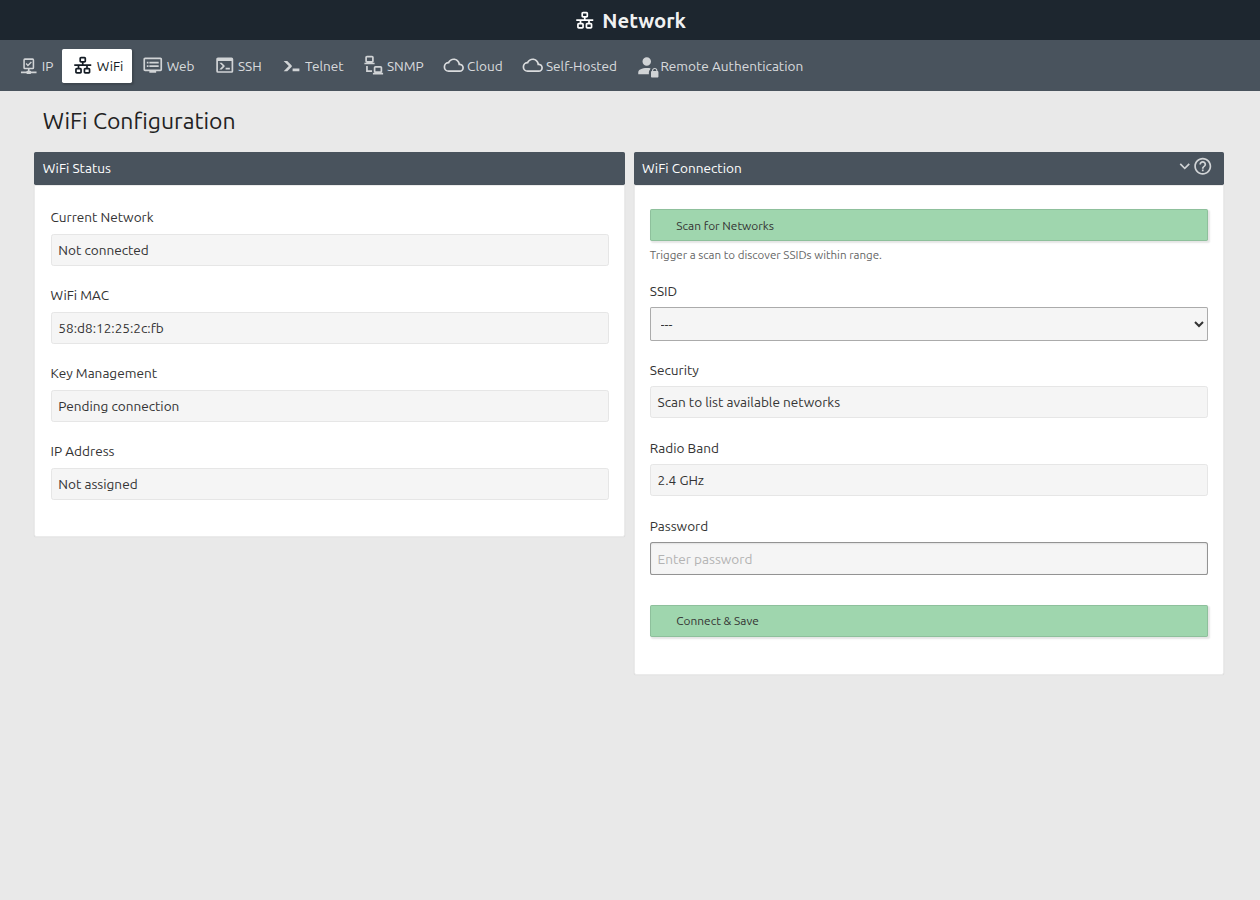
- Select Network, then WiFi.
The WiFi Status panel shows whether the PDU is connected and, after a
successful connection, its current SSID, Wi-Fi MAC address, security mode, and
DHCP-assigned IP address. The WiFi Connection panel is used to scan for and
join a network.
2. Scan for wireless networks
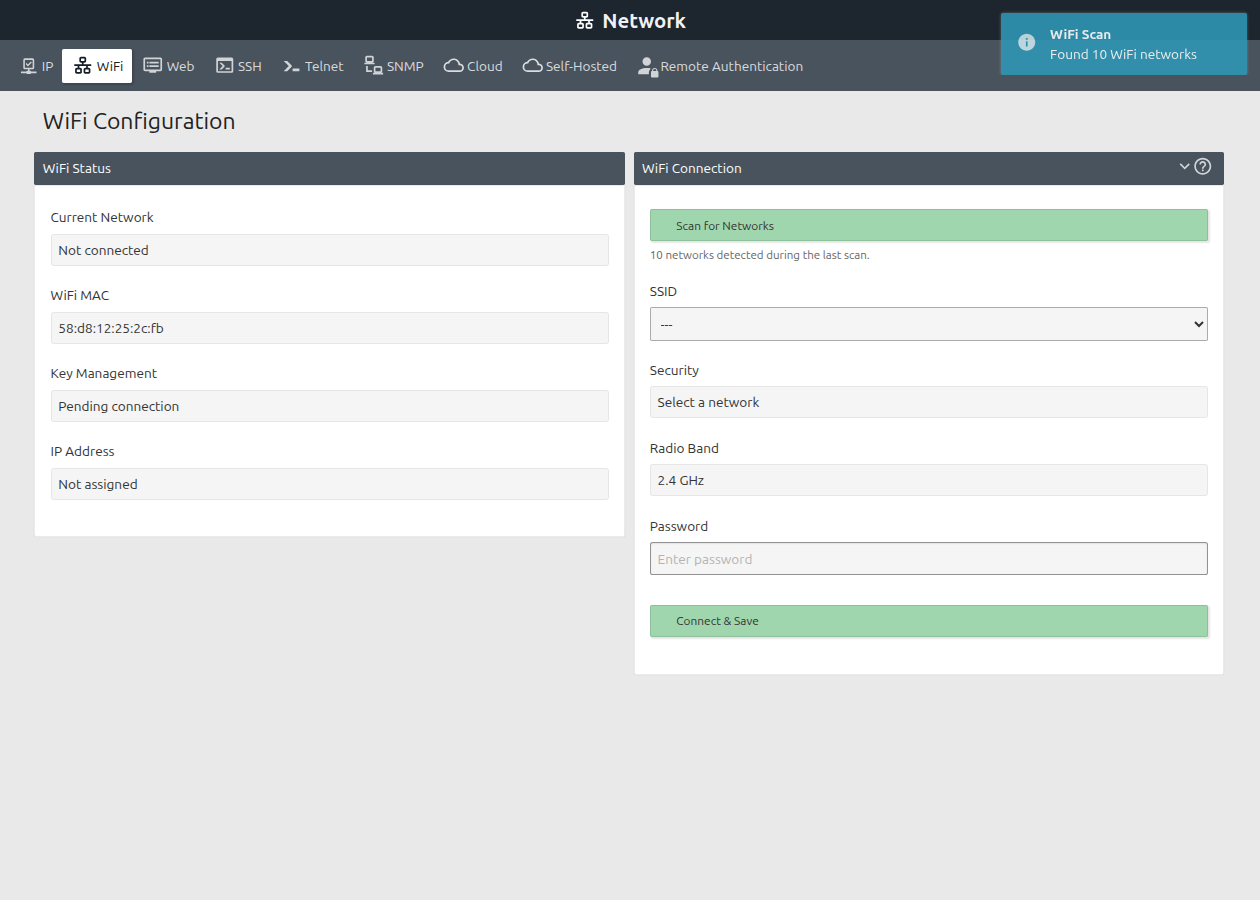
- Select Scan for Networks.
- Wait for the scan-complete message.
- Open the SSID list and select your network.
The list reports the signal quality, 2.4 GHz radio band, and detected security
mode for each network.
If the network does not broadcast its name, select Other network... and
enter the exact SSID. SSIDs are case-sensitive.
3. Connect and save the network
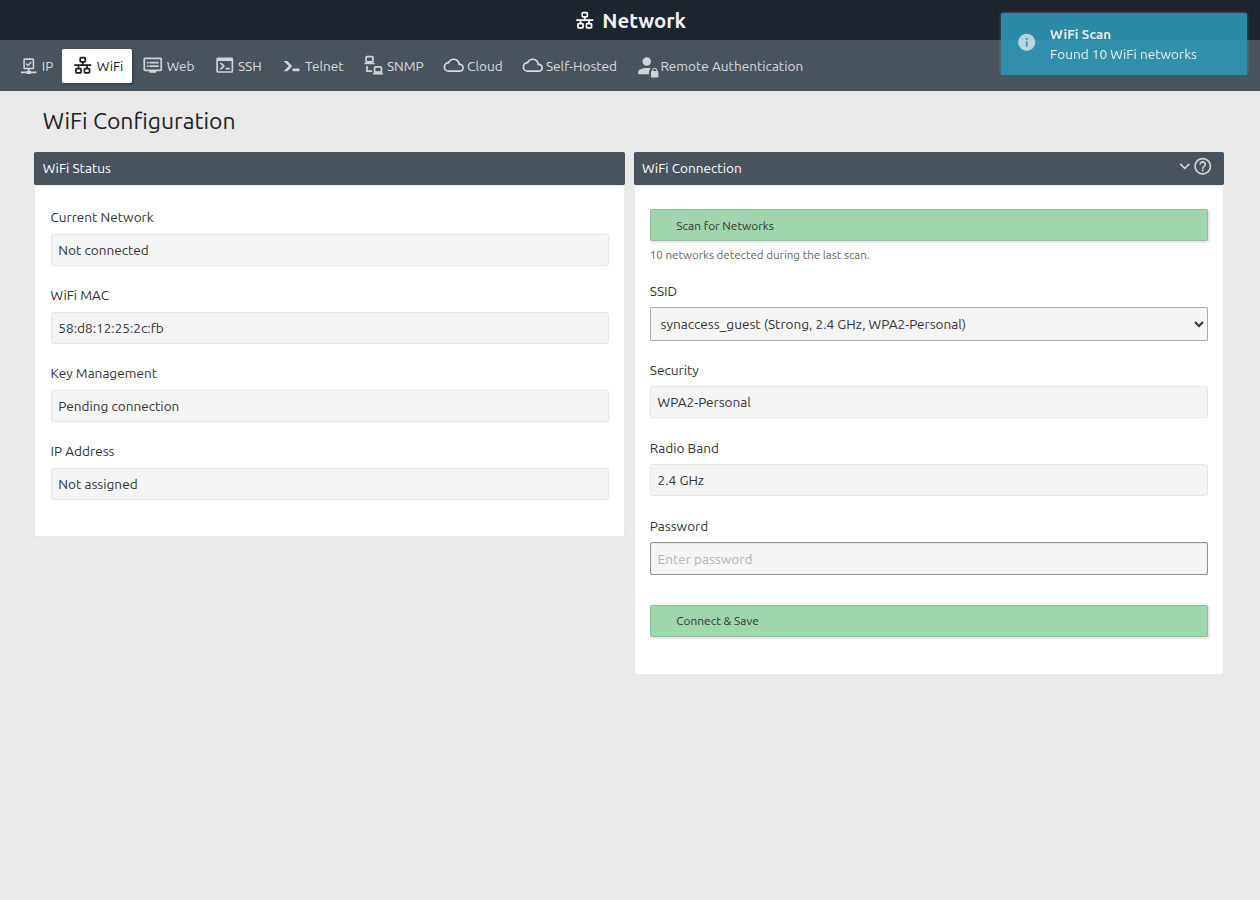
- Confirm that the selected network reports WPA2-Personal.
- Enter the wireless password.
- Select Connect & Save. If the PDU is already connected, the button is
labeled Switch Network & Save. - Wait for the connection attempt to finish.
- Confirm that Current Network shows the expected SSID and IP Address
shows a valid DHCP address.
The selected SSID, detected security mode, and radio band are displayed before
you enter the password and connect:
A successful connection is saved and is used automatically after the PDU or
Wi-Fi dongle restarts.
If immediate verification fails, the page lets you edit the credentials or
choose Save for Auto-Connect. Use Save for Auto-Connect only when the
SSID is temporarily unavailable or the dongle is not attached and you are sure
the SSID and password are correct.
Preconfigure Wi-Fi credentials
You can preload an SSID and password before the PDU is installed at its final
location, even when the destination network is unavailable or the Wi-Fi dongle
is not attached:
- Select Other network... from the SSID list.
- Enter the destination network's exact SSID.
- Select WPA2-Personal and enter the network password.
- Select Connect & Save.
- When immediate connection verification fails because the network or dongle
is unavailable, select Save for Auto-Connect.
The PDU stores the profile and automatically attempts to connect when a
supported dongle is attached and the configured network becomes available.
Preconfigured credentials cannot be verified when the destination network is
unavailable. Check the case-sensitive SSID and password carefully before
selecting Save for Auto-Connect.
4. Disconnect or change networks
- To change networks, scan, select the new SSID, enter its password, and select
Switch Network & Save. - To remove the current saved network, select Disconnect from SSID.
Disconnect removes the saved Wi-Fi profile. If you only want to suspend
Wi-Fi temporarily without deleting the saved credentials, use
network wifi profile disablefrom the CLI.
Configure Wi-Fi from the CLI
Connect to the PDU's CLI using SSH, Telnet (if enabled), serial console, or the
web CLI. The examples below use the full command names; CLI abbreviations may
also be available.
View help and examples
network wifi
network wifi examples
Scan for networks
network wifi scanConfirm that the target SSID appears in the results.
Connect and save
network wifi connect MySSID MySecretPasswordFor an SSID or password containing spaces, enclose that value in quotation
marks:
network wifi connect "Office WiFi" "My Secret Password"Use force when connecting to a hidden SSID or when replacing inconsistent
existing Wi-Fi state:
network wifi connect HiddenSSID MySecretPassword forceThe normal connect command verifies the connection before saving it. Check the
result with:
network wifi statusLook for the expected ssid, a completed connection state, and an
ip_address. DHCP assignment can take a short time after association.
Save credentials without connecting now
network wifi save FutureSSID MySecretPasswordThis stores an automatic-connection profile even if the dongle or access point
is unavailable. Because the credentials are not verified, check the spelling
carefully.
Temporarily disable or re-enable the saved profile
network wifi profile disable
network wifi profile enable
These commands preserve the saved SSID and credentials.
Disconnect and delete the saved profile
network wifi disconnectReset the Wi-Fi subsystem
network wifi resetReset clears the current Wi-Fi runtime state and reloads the saved
configuration. It does not delete the saved profile.
For credential safety, current Wi-Fi firmware does not retain
network wifi connectornetwork wifi savein interactive CLI history.
Avoid entering passwords where another person can watch the screen.
Expected Behavior
- Wi-Fi operates as a client of a 2.4 GHz WPA2-Personal network.
- The PDU obtains its Wi-Fi address through DHCP.
- A successfully saved profile reconnects automatically after reboot or dongle
reinsertion. - Ethernet and Wi-Fi can be connected at the same time. Ethernet remains the
preferred management path when it is available. - The web page may briefly show a connected SSID before the DHCP IP address is
populated.
Troubleshooting
The WiFi menu is missing
Confirm that the PDU is running Wi-Fi-capable firmware. Contact Synaccess
Support if the menu is absent after installing a supported dongle.
No networks are found
- Reseat the USB dongle and scan again.
- Confirm that the access point is broadcasting on 2.4 GHz.
- Move the PDU or access point closer together.
- If the SSID is hidden, select Other network... in the GUI or use the CLI
forceoption.
The connection fails
- Confirm the exact, case-sensitive SSID and password.
- Confirm the network uses WPA2-Personal.
- Verify that the password contains 8 to 63 characters.
- Run
network wifi status, thennetwork wifi resetand retry.
Wi-Fi connects but no IP address appears
Wait briefly and check status again. If no address appears, confirm that the
wireless network has an available DHCP server and address lease.
The PDU is no longer reachable at its old address
The Ethernet and Wi-Fi interfaces have different IP addresses. Check
WiFi Status, run network wifi status from a local console, or check the
DHCP server's lease table for the Wi-Fi MAC address.
Limitations
- Only one saved Wi-Fi profile is managed at a time.
- Wi-Fi configuration is DHCP-only.
- The supported customer connection path is 2.4 GHz WPA2-Personal. The GUI may
identify open, WEP, WPA3, mixed WPA2/WPA3, or enterprise networks in scan
results, but it does not permit connecting to those security modes. Support
for additional authentication methods is currently being scoped. - Wi-Fi connect and scan operations can take approximately 10 seconds before
reporting a timeout. - Removing the dongle interrupts Wi-Fi access, but the saved profile remains
available for reconnection when the dongle is reinserted.
Need Help?
Contact Synaccess Support with the PDU model, firmware version, dongle retail
model and hardware revision, USB ID, target SSID security mode, and the output
of network wifi status.